

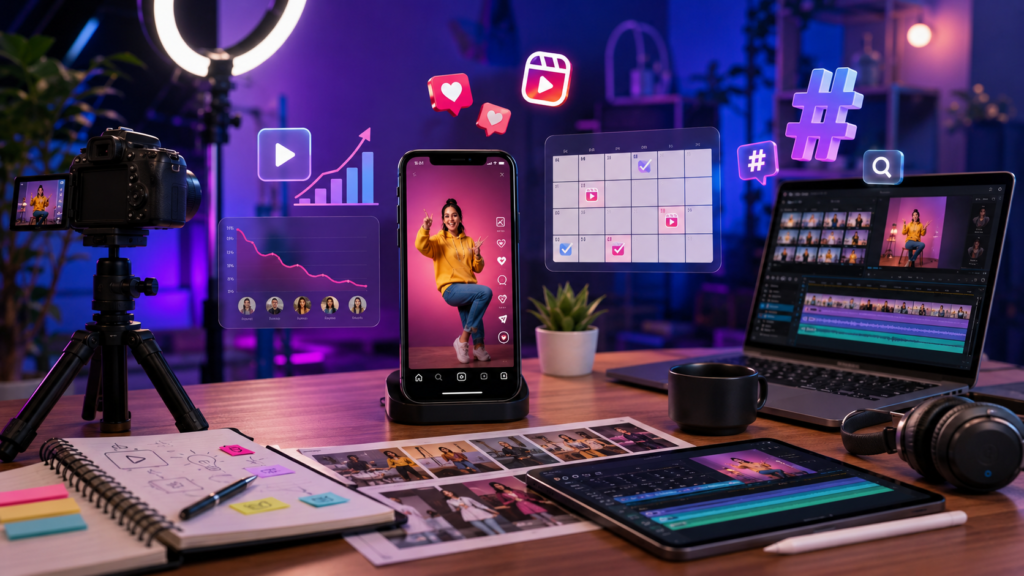
Instagram Reels have become one of the easiest ways to reach new people, grow your profile, and share creative content. Whether you’re a student, business owner, content creator, or someone who simply enjoys posting videos, learning how to create Instagram Reels can help you stand out on the platform.
The good news is that you don’t need expensive equipment or professional editing skills. With a smartphone and a little creativity, anyone can create engaging Reels that people enjoy watching.
In this guide, we’ll walk through the complete process of creating Instagram Reels, from planning your content to publishing your finished video.
What Are Instagram Reels?

Instagram Reels are short vertical videos that allow users to record, edit, and share content with music, effects, text, transitions, and more. Reels can be shared with your followers and may also appear on the Explore page, helping new audiences discover your content. Instagram provides built-in tools for recording, editing, and publishing Reels directly within the app.
Because of their short and entertaining format, Reels often receive more visibility than regular photo posts.
Why Are Instagram Reels So Popular?
People love Reels because they are quick, engaging, and easy to consume. Instead of reading long captions or watching lengthy videos, users can enjoy valuable content in just a few seconds.
Creators use Reels for:
- Tutorials and how-to videos
- Travel content
- Fitness tips
- Cooking recipes
- Product reviews
- Funny moments
- Daily lifestyle updates
- Educational content
No matter your niche, Reels can help you connect with a larger audience.
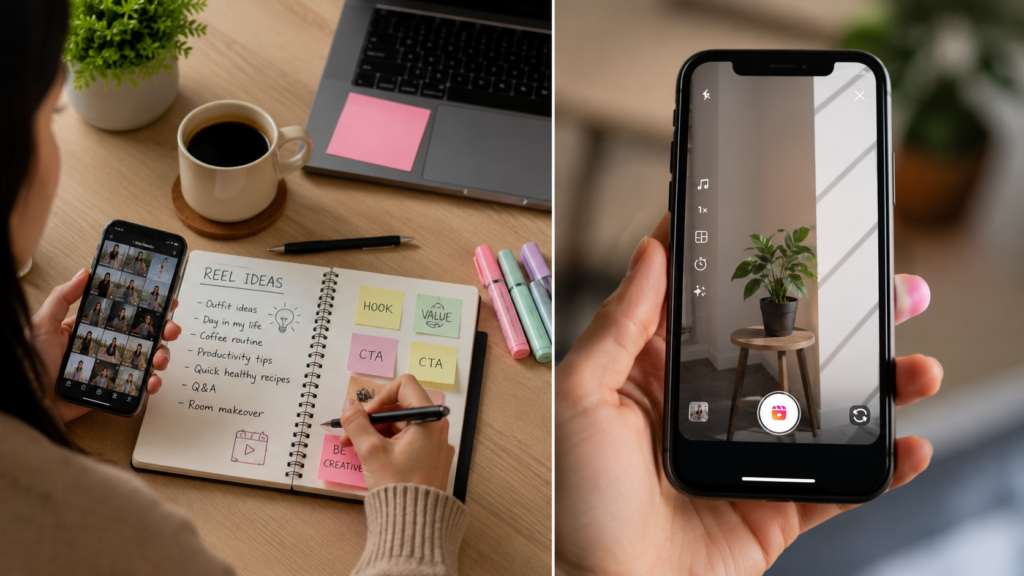
Step 1: Plan Your Reel Before Recording
Many beginners make the mistake of recording first and thinking later.
Before opening Instagram, ask yourself:
- What is the purpose of this Reel?
- Who is my target audience?
- What message do I want viewers to remember?
A simple plan can save time and make your content look more professional.
For example:
Topic: How To Edit Videos Using InShot
Hook: “Want better-looking videos in just 2 minutes?”
Main Content: Show editing process.
Ending: Ask viewers to follow for more editing tips.
Having a structure makes filming much easier.
Step 2: Open Instagram Reels
Instagram makes Reel creation simple.
To create a Reel:
- Open Instagram.
- Tap the “+” button.
- Select “Reel.”
- Open the camera or choose videos from your gallery.
- Start recording or upload existing clips. Instagram allows users to record directly in the app or add photos and videos from their device gallery.
You are now ready to build your Reel.
Step 3: Record High-Quality Video
Video quality plays a huge role in viewer retention.
Try these simple tips:
Use Good Lighting
Natural daylight is often the best option. Stand near a window or record outdoors during daylight hours.
Keep Your Camera Steady
Shaky footage can make viewers scroll away quickly. Use a tripod or hold your phone firmly.
Record in Vertical Format
Instagram Reels are designed for vertical viewing. Always record vertically instead of horizontally.
Clean Your Camera Lens
A dirty lens can reduce video quality dramatically. A quick wipe before filming makes a noticeable difference.
Step 4: Keep the First Few Seconds Interesting
The first 3 seconds often determine whether someone keeps watching or scrolls away.
Try opening with:
- A question
- A surprising fact
- A quick demonstration
- A bold statement
Examples:
- “Most people edit videos the wrong way.”
- “Here’s a simple trick that improves every Reel.”
- “Watch this before posting your next video.”
Strong openings increase watch time and engagement.
Step 5: Edit Your Reel
Editing is where your content starts looking professional.
Instagram offers several editing tools including text, music, effects, filters, stickers, and trimming options.
You can improve your Reel by:
Trimming Unnecessary Parts
Remove awkward pauses and mistakes.
Adding Text
Text helps viewers understand your message, especially when they watch without sound.
Using Captions
Captions improve accessibility and make content easier to follow.
Adding Music
Background music can make a Reel feel more energetic and entertaining.
Just remember not to let music overpower your voice if you’re speaking.
Step 6: Create Smooth Transitions
Transitions help your Reel flow naturally.
Simple transition ideas include:
- Jump cuts
- Camera covers
- Outfit changes
- Hand movements
- Zoom effects
You don’t need complicated effects.
Clean and simple transitions often perform better than flashy ones.
Step 7: Add a Strong Cover Image

Your cover image acts like a thumbnail.
A good Reel cover should:
- Be easy to understand
- Include clear text
- Match your content
- Look clean and professional
Many successful creators spend extra time designing attractive cover images because they improve click-through rates.
Step 8: Write an Engaging Caption
Captions provide additional context and encourage interaction.
Instead of writing:
“New Reel.”
Try something like:
“Creating better Instagram videos doesn’t require expensive equipment. These simple tips helped me improve my content. Which tip was your favorite?”
Good captions start conversations.
Step 9: Use Relevant Hashtags
Hashtags help Instagram understand your content.
Use a mix of:
- Broad hashtags
- Niche hashtags
- Topic-specific hashtags
Example for video editing content:
#InstagramReels
#VideoEditing
#InShotEditor
Quality is more important than quantity.
Step 10: Publish at the Right Time
Even great content can perform poorly if nobody sees it.
While every audience is different, many creators find success posting when followers are most active.
Test different posting times and review your Instagram Insights to discover what works best for your audience.
Common Mistakes to Avoid
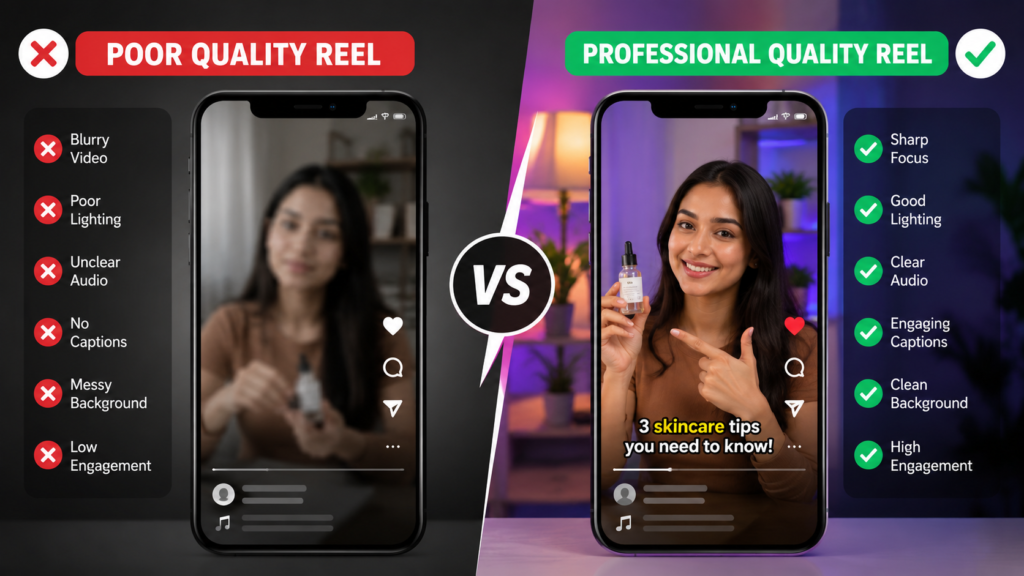
Many new creators unknowingly hurt their Reel performance.
Avoid these mistakes:
- Posting blurry videos
- Using poor lighting
- Adding too much text
- Making videos too slow
- Ignoring captions
- Uploading videos with large watermarks
- Using irrelevant hashtags
- Copying trends without adding your own style
Small improvements can make a big difference over time.
Tips to Get More Views on Instagram Reels
If you want more people to discover your content, focus on:
- Creating valuable content
- Posting consistently
- Using clear audio
- Adding captions
- Keeping viewers engaged
- Following current trends
- Responding to comments
- Experimenting with different formats
Remember that growth usually takes time.
One viral Reel can happen, but consistent posting often delivers better long-term results.
Can You Edit Instagram Reels Using InShot?
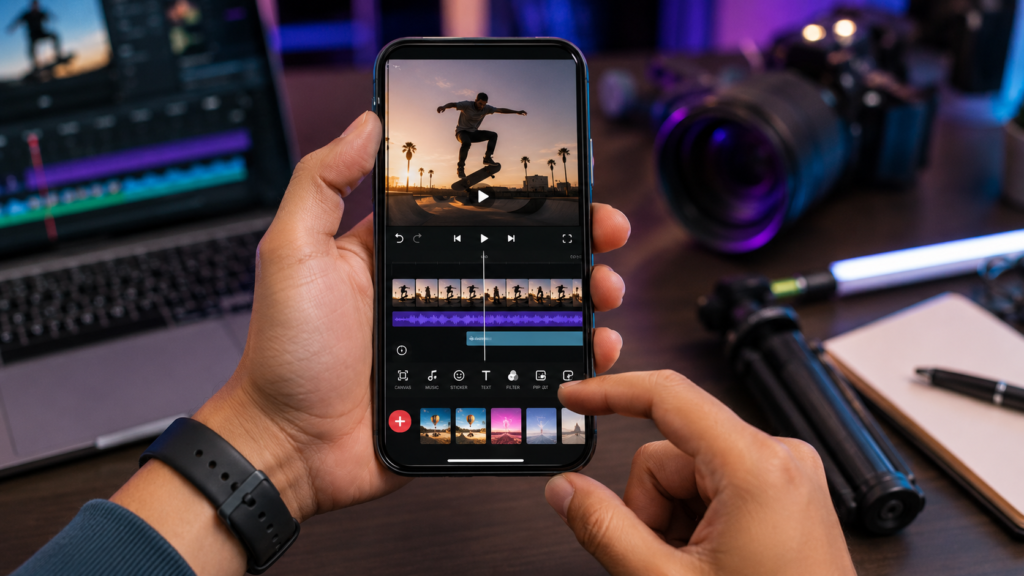
Absolutely.
Many creators prefer editing their videos in InShot before uploading them to Instagram.
InShot provides additional editing features such as:
- Advanced trimming
- Video speed control
- Text animations
- Filters
- Transitions
- Background music options
Once editing is complete, you can export the video and upload it directly as an Instagram Reel.
Final Thoughts
Creating Instagram Reels may seem complicated at first, but it becomes much easier with practice. The key is to focus on clear content, good video quality, simple editing, and consistency.
Don’t worry about making perfect videos right away. Every successful creator started with their first Reel. Keep experimenting, learn from your results, and improve with each upload.
The more you create, the more comfortable and confident you’ll become.
Frequently Asked Questions
How long should an Instagram Reel be?
Shorter Reels often perform well because viewers are more likely to watch them completely. However, the ideal length depends on your content and audience.
Do I need professional equipment to create Reels?
No. A smartphone with decent lighting is usually enough to create high-quality Instagram Reels.
Can I use InShot for Instagram Reels?
Yes. InShot is one of the most popular video editing apps for creating Instagram Reels.
How often should I post Reels?
Consistency matters more than volume. Posting a few quality Reels every week is usually better than uploading low-quality content every day.
Are hashtags still useful for Reels?
Yes. Relevant hashtags can help Instagram categorize your content and improve discoverability.